It can’t be done.
Some vintage stereos are worth many hundreds of dollars, and so even though it make take hours of effort to restore them to proper working condition, it’s economically viable. Others are of great sentimental value to the owner, but there’s a much stricter limit to the monetary investment worth making before the owner says “forget it”. It’s a hard judgement to make in advance. And so, when I was given this vintage “suitcase stereo” to repair, I had to make that decision, and as often is the case, I came down on the side of preserving the equipment even though it was likely I would spend many hours on it that I would not be paid for.
Call it a “labor of love”.
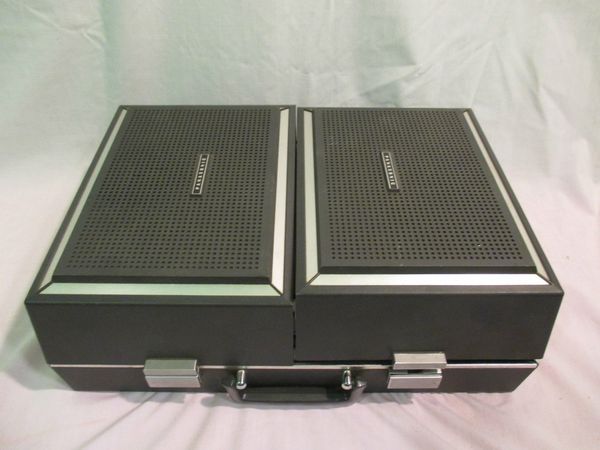
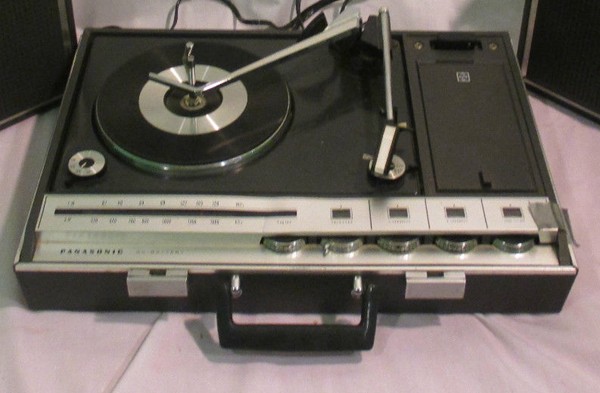
The stereo was in excellent cosmetic condition, with just a few scuffs on the bottom of the case, no cracks or chips, the interior still shiny, all the print clear and sharp. Mechanically it seemed to be in good working order. The problem was the sound! One channel had no sound at all, and the other was, well, poor. For sure I figured it would need new speakers – no problem there. And I figured I would have to repair the amplifier section. That could be tricky, and time consuming, so I asked the owner if $100 was too much to spend on the job, knowing that the stereo wasn’t worth a whole lot more than that. Knowing too that even at that price, I was likely to take a hit.
Once I got into it I realized something I should have thought of to begin with: the amplifier circuit used germanium transistors, a type of semiconductor that hadn’t been used in decades. There was no way to find original parts for it, and there was no substitution of modern parts. It didn’t take long to determine that some of them were defective.
Well, no problem, I thought. It would be a lot of extra work and some expense for parts, but I could take the entire amplifier board out and replace it with a more modern amplifier. There wasn’t a whole lot to it, the little stereo only produced about 5 watts per channel. I knew I could get a little stereo amp kit for 20 bucks or so, and a pair of small speakers for about the same. That would leave about 60 bucks to cover my time.
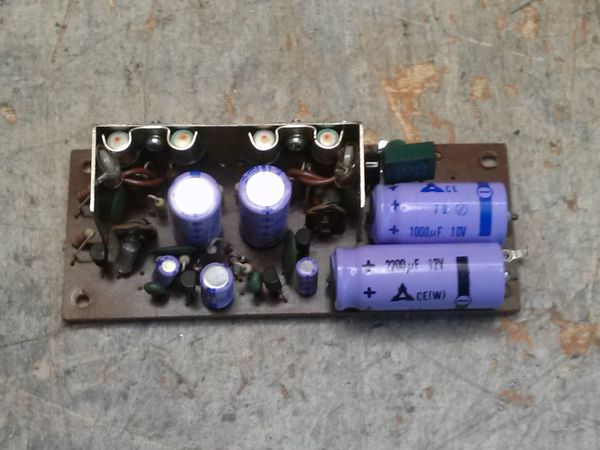
But wait! I just then realized the same circuit board that housed the amplifier also had the power supply on it! Oh no: that meant I’d have to replace the power supply as well. Another kit? It was, thankfully, a very simple power supply. The entire board, amp and power supply, looked like this:
Unfortunately, the unit was also equipped to run on batteries, so that would have to be taken into account. And, when I began disconnecting and labeling wires, I made a very disturbing discovery — the entire unit was wired for positive ground.
Positive ground! That went out with Edsels and Howdy Doody! How could I combine a modern power supply and amplifier with a positive ground record player and radio tuner??? It can’t be done! Smoke began to pour from my ears.
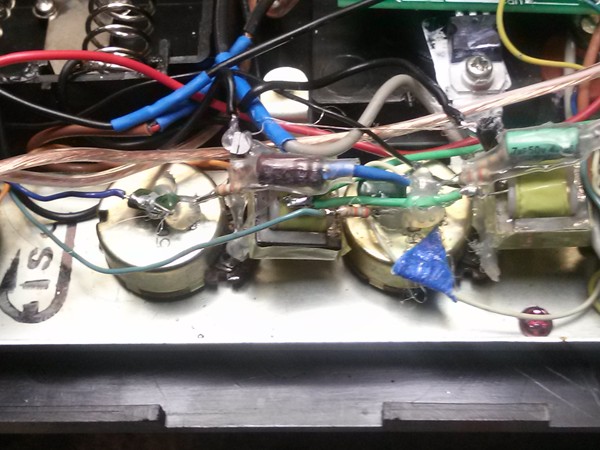
Eventually I figured it out: I’d have to use isolation transformers on the input end of the amplifier, and separate the “common” connections of the old and the new. Bravo! Except, the impedance of the transformers was very low, and the impedance of the preceding circuits very high. So there’d have to be a buffer circuit. Ahem. Another handful of parts, and another hour of my time to design and build an appropriate buffer that would also integrate with the tone control. I put it all carefully together and glued it down to the back side of the volume controls.
Having accomplished that, there was one more river to cross: the original power supply was only 10 volts, but the amplifier I had built required at least 12, preferably 15. So I had to find a way to provide both potentials to the two different circuits, even though one was positive ground and the other negative. It can’t be done!
But I figured out a way. I accomplished it with a zener diode and two regular diodes, inserted in the negative side of the supply. This also provided isolation for the batteries, in the event that the unit was plugged in while batteries were present. And, it allowed me to wire the power supply through the power switch, so the unit would turn off whether using AC or the batteries.
It took a lot of additional time to hone the values of the various resistors and capacitors so that the volume level was comparable to the original amp. And it took a lot of additional time to carefully run each wire in its proper location. And then, when I was all done, there was one problem left.
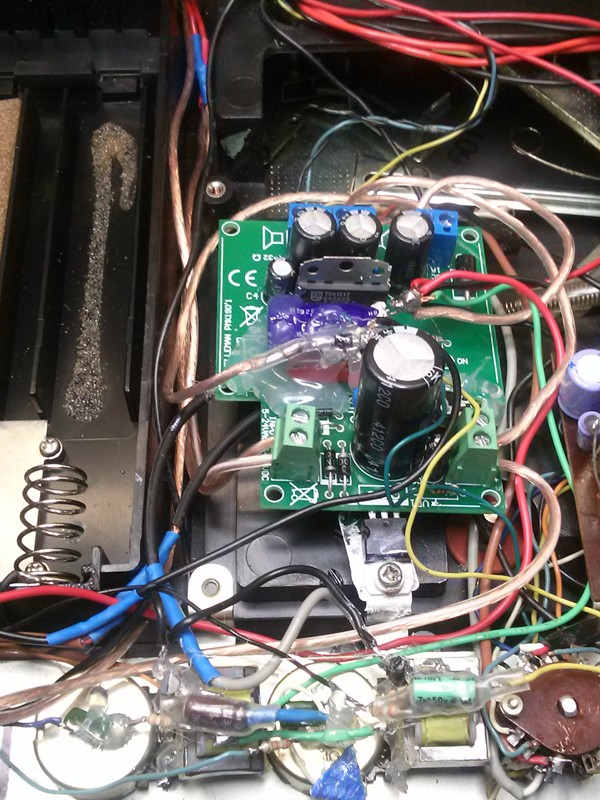
That large capacitor in the center of the photo? When I put the cover back on, it hit the capacitor, lacking about a quarter inch of clearance. I had to take everything apart one last time, remove the capacitor, and replace it with one that sat on its side rather than standing up. I was truly frustrated by this time, there was so much work that I hadn’t been able to do because of the time I put into this project.
But in the end, everything worked just as it should, and the darn thing sounded like a vintage suitcase stereo when I was done. It “only” took about 12 hours of time, so I reckon I made about $5/hr for my creativity, knowledge, and skill. Worth it? I don’t know. Last week, some bozo who had brought me three vintage stereos that would have required extensive work but were not in good condition and had no sentimental or market value took out his disappointment on me by leaving a scathing negative review on Google, accusing me of ripping him off, claiming that I didn’t even take the cover off his equipment. I even charged him less than my minimum bench fee, but that didn’t matter to him.
People are far more likely to leave a negative review when they are disappointed than to leave a good review when they are satisfied. That’s just a fact of life in my business.